How to Make a Tiny Desk AI Video
Last updated:
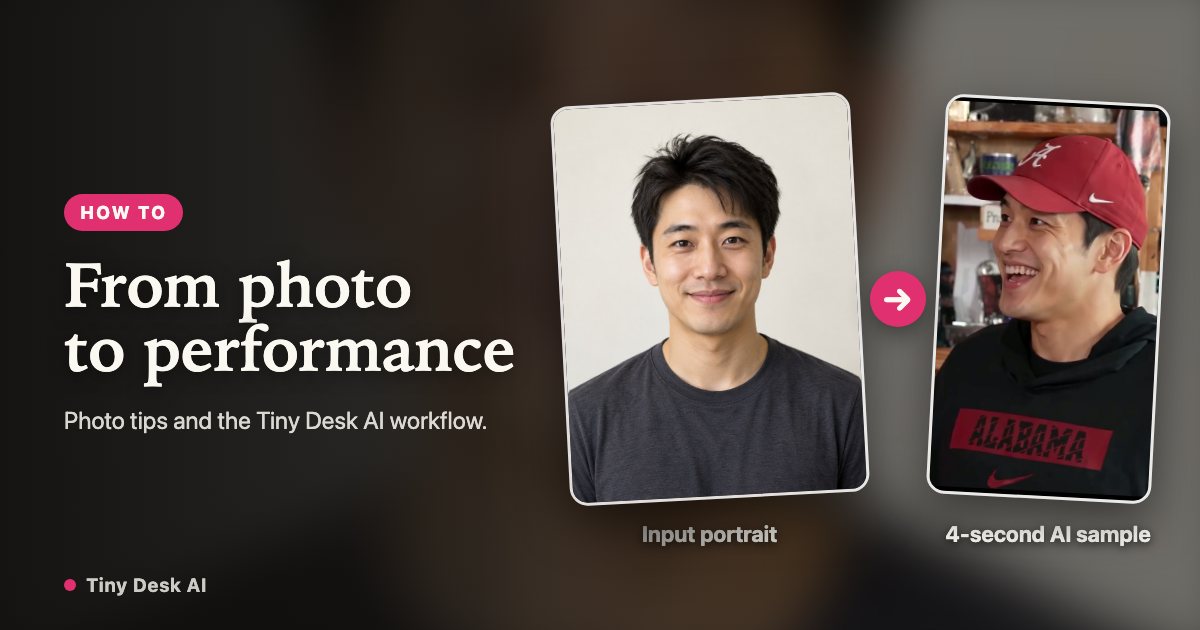
To make a Tiny Desk AI video here, choose a lead photo, add optional band portraits and select a quality. The performance template is already set. This guide follows the actual form and explains what to check before treating a generated clip as ready to share.
Ready with your photos?
Open the maker to assign the lead, keys, backing singers and sax. You can select your photos before signing in; generation uses credits.
Open the Tiny Desk AI maker1. Prepare one portrait for each person
Use a clear, recent photo of one consenting adult, facing the camera, with the full face and shoulders visible. Even light and an unobstructed face give the model a clearer identity reference. Avoid group shots, sunglasses and beauty filters that change facial proportions. Each file must be JPG, PNG or WebP and no larger than 10 MB.
2. Assign the lead, keys, backing singers and sax
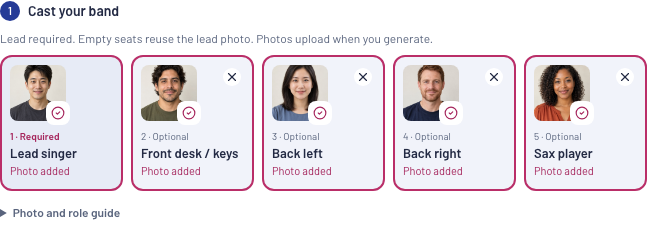
Add the lead photo first. You can fill the other 4 positions with different adult portraits or leave them empty to reuse the lead. Back left and back right refer to the positions in the frame. Check each thumbnail before generating; using the same group photo in every slot does not assign its individual faces.
3. Use the Tiny Desk AI template and choose quality
The concert is fixed at 19 seconds in 9:16; there is no length selector in this workflow. Standard uses 100 credits and HD uses 300. Quality changes the output tier and cost, not the cast or duration. Review your portraits and credit cost before submitting.

Do I need a Tiny Desk AI prompt?
No prompt is required in this form. The preset instructs the editor to replace the assigned facial identities while keeping the performance timing, instruments, clothing, background and camera cuts. If you work in a separate reference-video editor, specify which person to replace and what to preserve; asking it to invent a new concert scene is a different workflow. A prompt alone does not recreate the reference timing or soundtrack.
4. Sign in, confirm permission and generate
You can choose photos before signing in. Check that the correct account and credit balance are shown, then confirm permission for everyone and start the task. Photos upload when you generate. Check the displayed price and credits before confirming the task.
5. Check My videos and download the MP4
You can leave the page and return to My videos to check task status. Generation time depends on the provider and queue; there is no measured completion-time promise for this site. A failed concert returns its credits automatically. When the task succeeds, download the MP4 and play it from start to finish.
6. Review the face, performance and song
Check identity across every camera cut, especially head turns and the saxophone shot. Look for distorted hands, instruments and mouth movement. The original download keeps the finished file’s audio, if present. The silent MP4 removes the audio track so you can add a track you are allowed to use in your editing or social app. Muting the player alone does not remove audio from a downloaded file. Neither download establishes a cloned singing voice, exact lip sync or music rights.
7. Save and share your AI concert
Photos are deleted automatically 7 days after upload; finished videos are kept for 30 days after they finish. Download anything you want to keep before expiry. Keep the AI label and disclose the fictional performance when sharing on TikTok, Reels or Shorts. Use music you are allowed to share and avoid presenting the clip as footage of a real show.
Step into your Tiny Desk AI concert
Start my concert