Tiny Desk AI Photo Guide
Last updated:
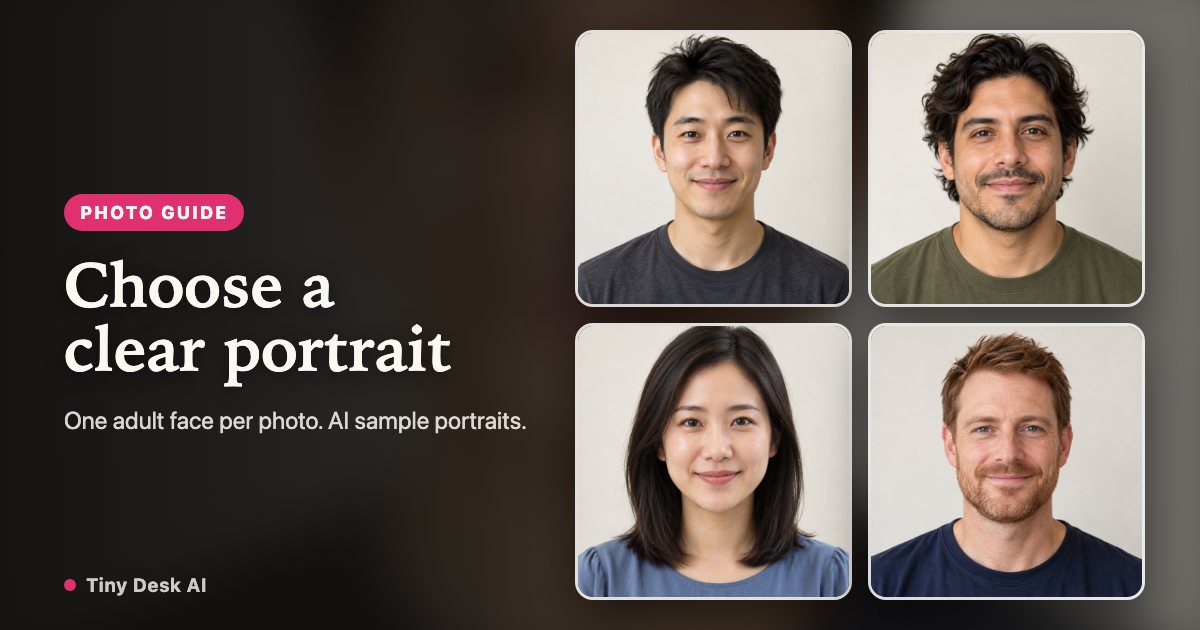
A Tiny Desk AI video uses each portrait as an identity reference. Start with a photo that makes the intended person unambiguous, then assign it to the correct role. These checks help you spot avoidable input problems without promising perfect face replacement.
Put your prepared portraits into the band
Start with your clearest lead photo. Add one separate portrait per friend, then check the role thumbnails before generating.
Assign my photosUse: one clear adult face
Choose a recent head-and-shoulders portrait with the whole face visible. A front-facing or nearly front-facing view in even light makes it easier to inspect eyes, nose and mouth before uploading. Check sharpness on the face itself; a large file can still contain a blurry face.
Avoid: hidden or ambiguous identity
Sunglasses, masks, a hand across the face, distant figures and group shots hide or confuse the identity reference. Strong beauty filters can change facial proportions. If you cannot clearly identify the intended face at thumbnail size, choose another photo instead of spending credits to test the ambiguity.
Compare lighting and expression
Prefer soft front light over a bright window behind the person or a face split by harsh shadow. A neutral expression or small smile is easier to evaluate than a distorted wide grin. These are preparation choices, not a guarantee that the model will preserve a face during every movement.
Prepare one file for each friend
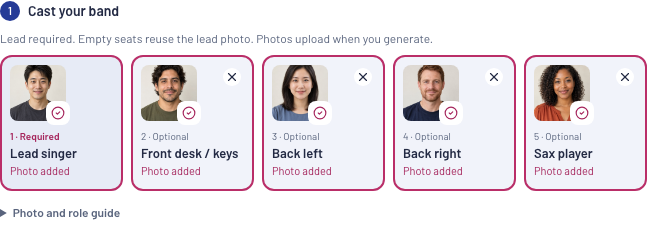
There are 5 band roles. Use a separate portrait for each person rather than assigning the same group shot to several slots. Similar lighting across the portraits can make the cast feel more coherent. The lead photo is required; empty roles reuse it.
Spend the clearest photo on the lead
The lead appears in the opening, laughing close-up and finale. A weak lead reference therefore affects several shots. Check the sax portrait too: it receives its own close-up, even though it is on screen for less time. Use the template guide to understand the whole sequence.
Match the role, not just the filename
Use the role thumbnails and labels to identify keys, backing left, backing right and sax. Left and right are from the viewer’s perspective. Before generating, check every selected preview and confirm that no friend was assigned to the wrong seat.
Supported files and permission
Upload JPG, PNG or WebP files up to 10 MB each. Use your own photo or obtain permission from every person shown. All participants must be adults; this service does not accept minors, celebrities or public figures.
Review a render before trying another photo
Check the whole video, especially the laugh, head turns, microphones crossing a face and the cut to sax. If identity is unclear, compare the input with an alternative portrait before another render. A higher resolution increases the output tier; it cannot recover facial information hidden in the input. A new successful render uses its own credits.
Save, edit and share clearly
Download the original MP4 or its silent copy before the 30-day output retention ends. For a new soundtrack, use the silent file and add music you are allowed to use. Keep the AI label and tell viewers it is a fictional performance.
Step into your Tiny Desk AI concert
Start my concert